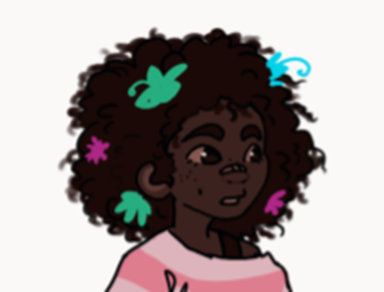
When initially concepting our player character Casta, I wanted to create a character that I don’t usually get to see in games. Because this hair texture is not something we typically see when playing games, Casta’s hairstyle becomes a really tricky topic when trying to think about how we would tackle bringing it to life. Most of the time, when you look up any sort of tutorial or guide on how to do hair, all of it is straight or wavy.
The first thing we needed to figure out was: What level of realism did we want for Casta’s hair? In Land of Lights, we didn’t want to create a photo-realistic world, we wanted there to be some fantasy to it. Foundationally, our assets would certainly be based off of realism, but overall, we are going for a slightly stylized look.
At first, I considered hair cards. In short, hair cards are a very lightweight and efficient method for creating hair because the end result is just several flat planes attached to the head which, when textured, form a complete head of hair. The problem with this method, however, is that only straight strands of hair generally work for this. Sure, you could go a little wavy, you would just need to add a few more faces to your planes, but to create coily type-4 hair like Casta’s, we would need hundreds of subdivisions to get a readable level of detail, defeating the purpose of our hair cards. We don’t need to do that much work.
A second option was to use the Maya plugin Xgen. Xgen allows us to generate clumps of hair strands that stem out of a mesh. The advantage to using Xgen is that I can create several modifiers and adjustments to get the texture I needed. So, I gave it a shot.
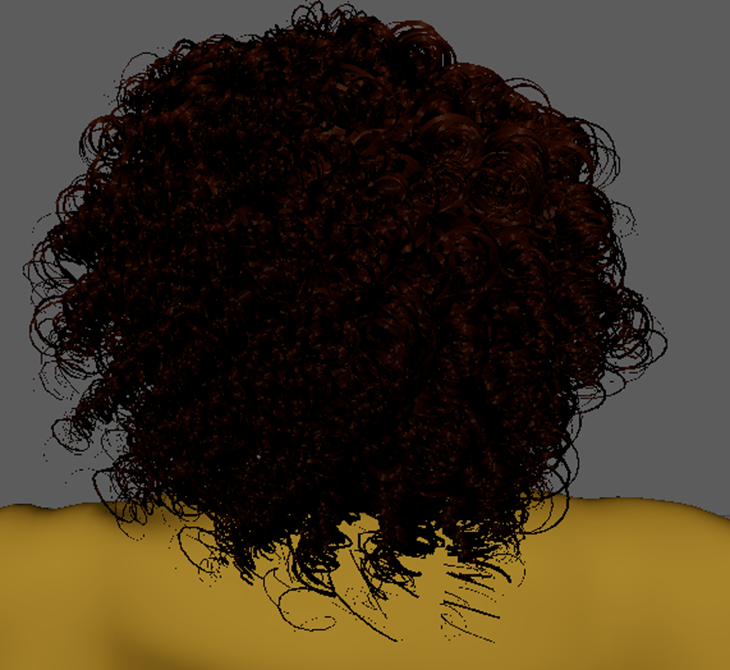
This looked good, but we needed to think about how this would fit into our game engine. A concern for us was that the end result for Xgen would be too heavy for our game. Personally, I didn’t see a way that this generated hair wouldn’t end up creating millions of vertices that would end up drastically slowing our game down. Once we get the hair into Unreal, there would need to be some stress testing. The pipeline I used to get this hair into Unreal was another plugin. This time, I used Unreal Engines plugin called Groom, which allows hair generated in Xgen to be exported into the game engine. With Groom, some things did not transfer over, but Groom also has its own built in editor with several different properties that you can tweak from the initial hair.
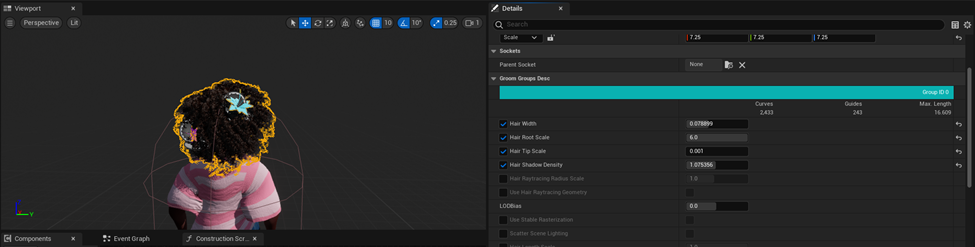
This is helpful because our initial texture appears very shiny and sleek, we need to change this. After creating a Groom and adjusting, this is what we were working with:
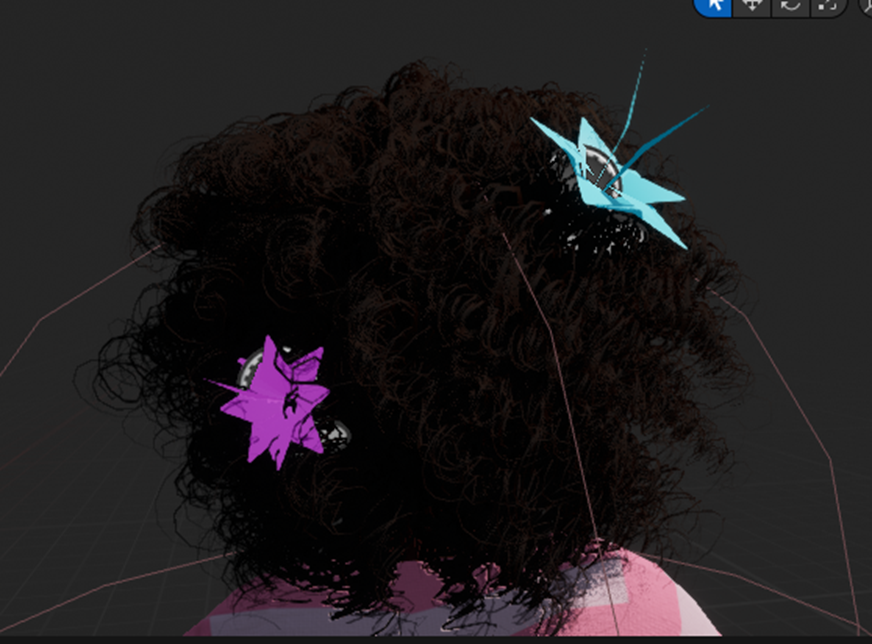
What’s most exciting from this point on is that a Groom asset will be able to attach itself to a model in Unreal Engine and begin simulating gravity and physics based around Casta’s animations. I look forward to seeing how we can make the hair bounce around and have some motion once our animations start coming in.